How to Make a Gift Bag from Wrapping Paper
Stuck with a perfect gift but no bag? Don’t let a last-minute packaging panic ruin the moment. You can easily craft a beautiful, custom gift bag right at home.
To make a gift bag, you need to fold a piece of wrapping paper into a tube and glue the seams, being careful to keep the adhesive away from your hands. Next, fold and secure the bottom to create a flat base. Finally, reinforce the top, punch holes for the handles, and tie with ribbon or string. Once finished, set the bag aside so the adhesive can dry and the structure can fully secure.
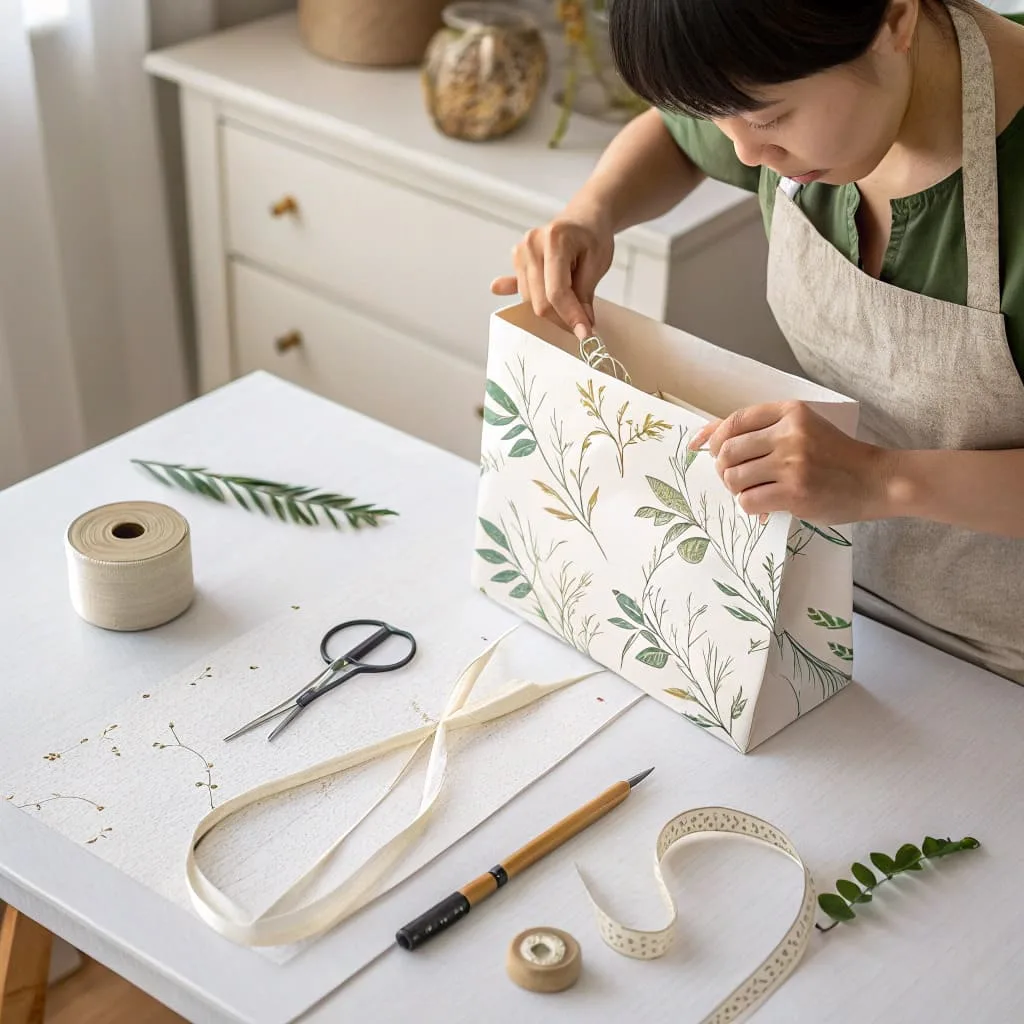
In my ten years leading Omet Packaging, I’ve seen how much presentation matters. It’s the first impression your gift makes, and a custom touch shows you truly care. This simple DIY project is a great way to elevate your gift-giving, using skills similar to what we use in professional packaging design. It’s easier than you think. Let me guide you through the process, step-by-step, so you can create a bag that looks like it came from a high-end boutique.
What Materials and Tools Do You Need First?
Are you ready to start but missing a key item? That can stop a creative project in its tracks. Let’s gather everything you need now for a smooth and fun process.
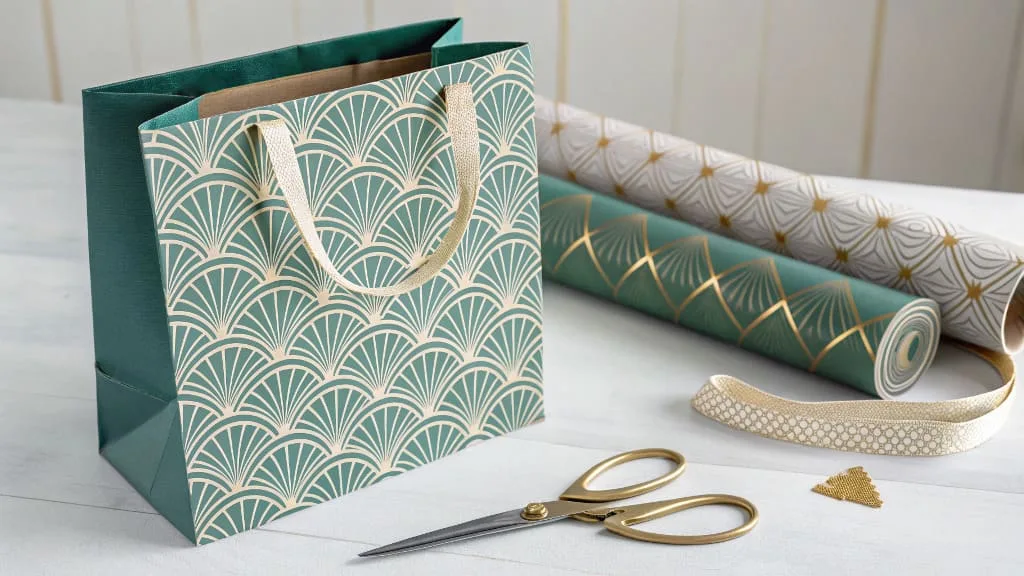
You need to prepare wrapping paper, scissors, a ruler, strong glue or double-sided tape, a hole punch, and ribbon or rope for making handles. It is also strongly recommended to use a piece of light cardboard to reinforce the top and bottom of the bag, especially if you plan to carry a heavier gift.
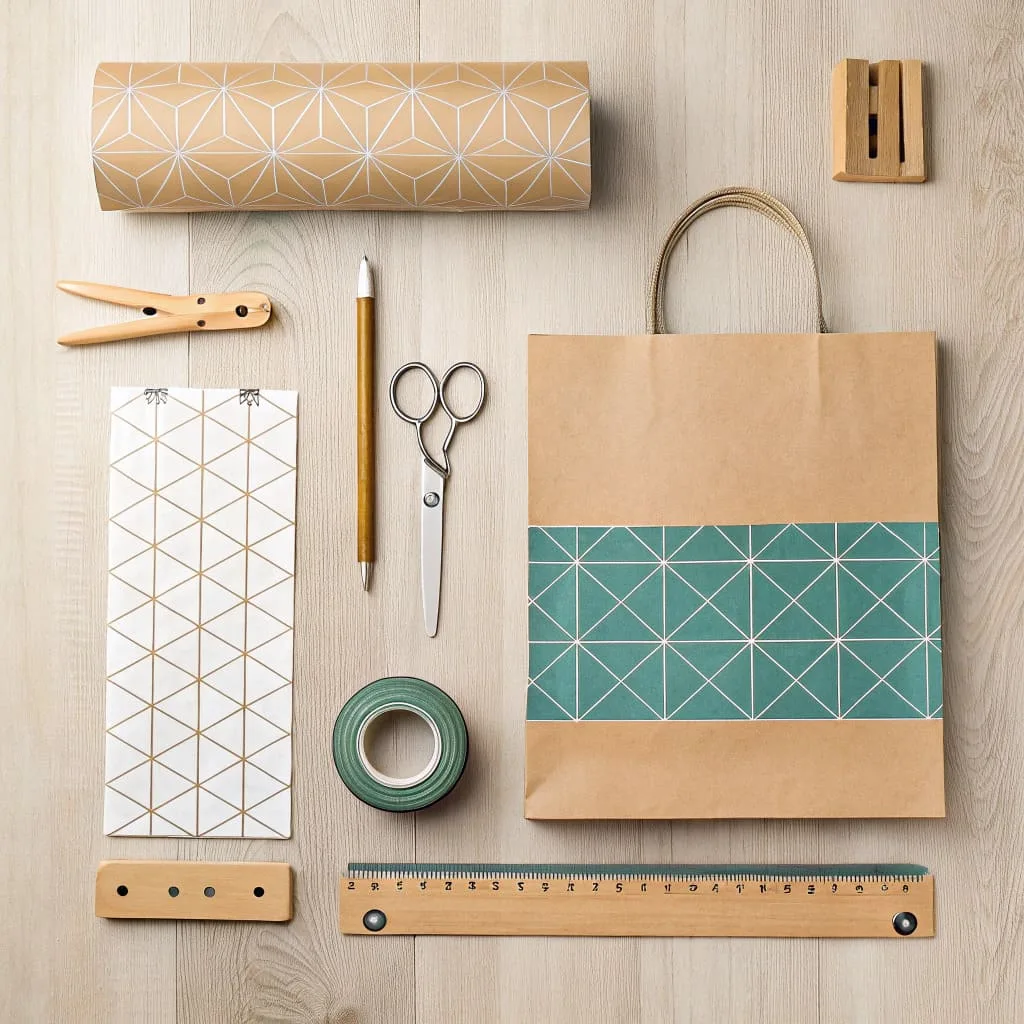
Choosing the right materials is the foundation for a great result, just like in professional manufacturing. It’s a principle we live by at my company, Omet Packaging, where we are BSCI and FSC certified. You don’t need industrial-grade equipment, but quality matters.
Your Essential Toolkit
| Item | My Recommendation | Why It’s Important |
|---|---|---|
| Wrapping Paper | Choose a thicker, high-quality paper. Paper with a weight of at least 100 GSM works best. | Thinner paper tears easily. Heavier paper creates a sturdier bag that can hold more weight, just like the bags we produce for luxury brands. |
| Adhesive | Double-sided tape gives a cleaner finish. A strong glue stick or craft glue also works well. | You need a strong bond to ensure the bag doesn’t come apart. We use specialized adhesives for different materials to guarantee durability. |
| Scissors & Ruler | A sharp pair of scissors and a standard ruler or measuring tape. | Precision is key. Clean cuts and straight lines make all the difference between a homemade look and a professional one. |
| Hole Punch | A standard two-hole or single-hole punch. | This creates clean, uniform holes for the handles. |
| Handles | Ribbon, twine, or twisted paper cord. | This is where you can add personality. Match the handle material and color to your wrapping paper for a coordinated look. |
| Cardboard | A thin piece from a cereal box or old folder. | Used for reinforcing the top and bottom, it adds significant strength and structure. |
How Do You Fold the Wrapping Paper into the Main Bag Shape?
Worried you’ll make a wrong fold and ruin the paper? Following complex diagrams can be confusing. Don’t worry, I will break it down into three very simple steps.
First, measure and cut your paper to size. Then, fold the paper into a tube and glue the overlapping seam to create the bag’s body. Finally, form the bag’s sturdy base by folding and securing the bottom end.
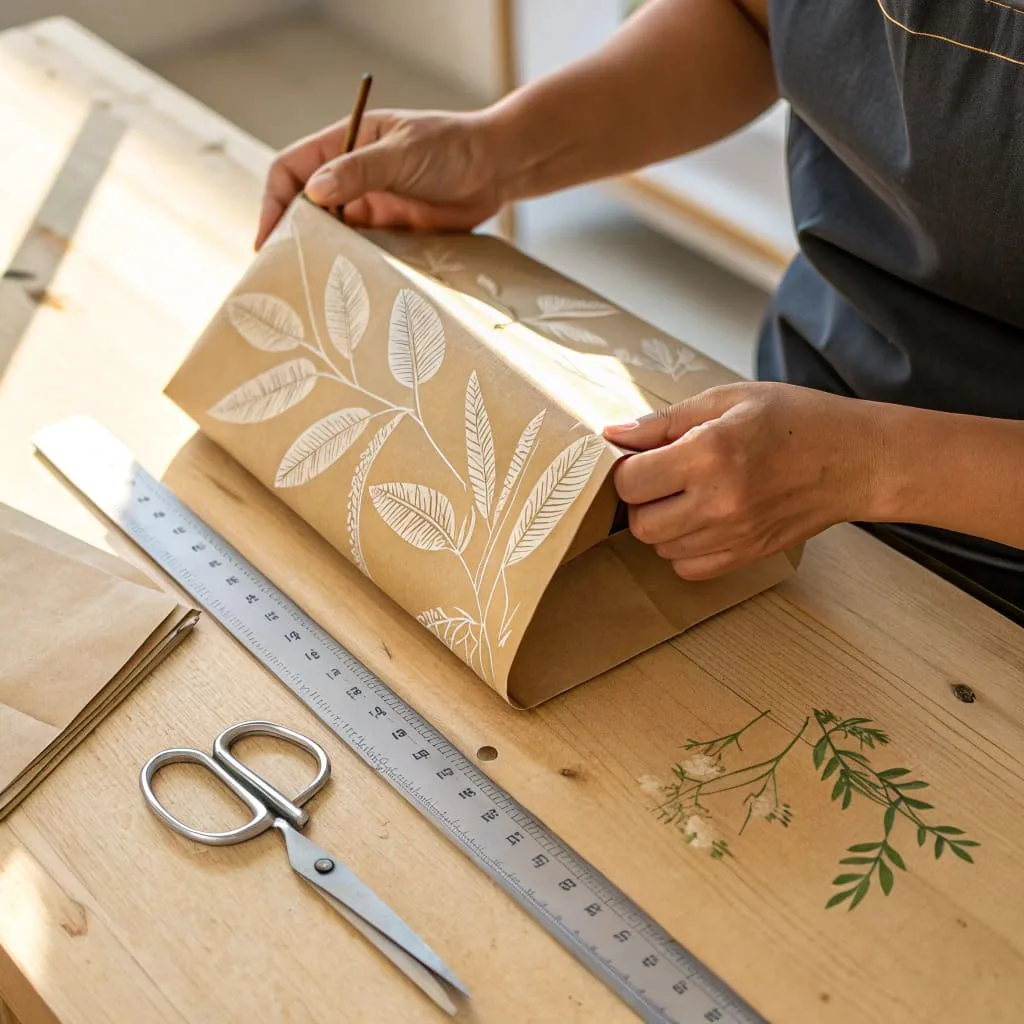
The process of forming the bag is all about clean folds and strong seams. This is where craftsmanship comes in. In our factory, machines fold and glue thousands of bags an hour with incredible precision, but the core principle is exactly the same as what you are about to do by hand. Let’s get started.
Step 1: Measure and Cut Your Paper
First, place your gift on the wrapping paper to figure out the size you need. You’ll want enough paper to wrap around the item’s width completely, with about a 1-inch overlap for the seam. For the height, you need enough to cover the gift’s height plus about three-quarters of its depth for the base, and an extra couple of inches for the top fold. Cut your rectangle to this size.
Step 2: Form the Body of the Bag
Place your paper pattern-side down. Fold the left and right sides in so they meet in the middle. Overlap one edge over the other by about 1 inch. Apply your double-sided tape or glue along this edge and press it down firmly to create a seam. You now have a flat paper tube.
Step 3: Create the Base
With the tube still flat, decide how wide you want the base of your bag to be. Let’s say 4 inches. Fold the bottom edge up by 4 inches. Now, open this folded section up, pushing the sides in, much like wrapping the end of a present. You should see two triangle-shaped flaps form at the corners. Press these triangles flat. Next, fold the top and bottom flaps down toward the center, overlapping them. Apply glue or tape to secure these flaps. This creates the flat, sturdy bottom of your bag.
How Can You Add Handles and Reinforcements for a Professional Finish?
Does your finished bag feel a little flimsy? A weak bag might not hold your gift securely, which defeats the purpose. A few simple tricks can add pro-level strength and style.
Reinforce the top edge with a folded strip of cardboard before you punch holes for the handles. Then, thread your ribbon through the holes, tying knots on the inside to secure them. Adding a cardboard insert to the base strengthens the bottom and helps distribute the weight more evenly.
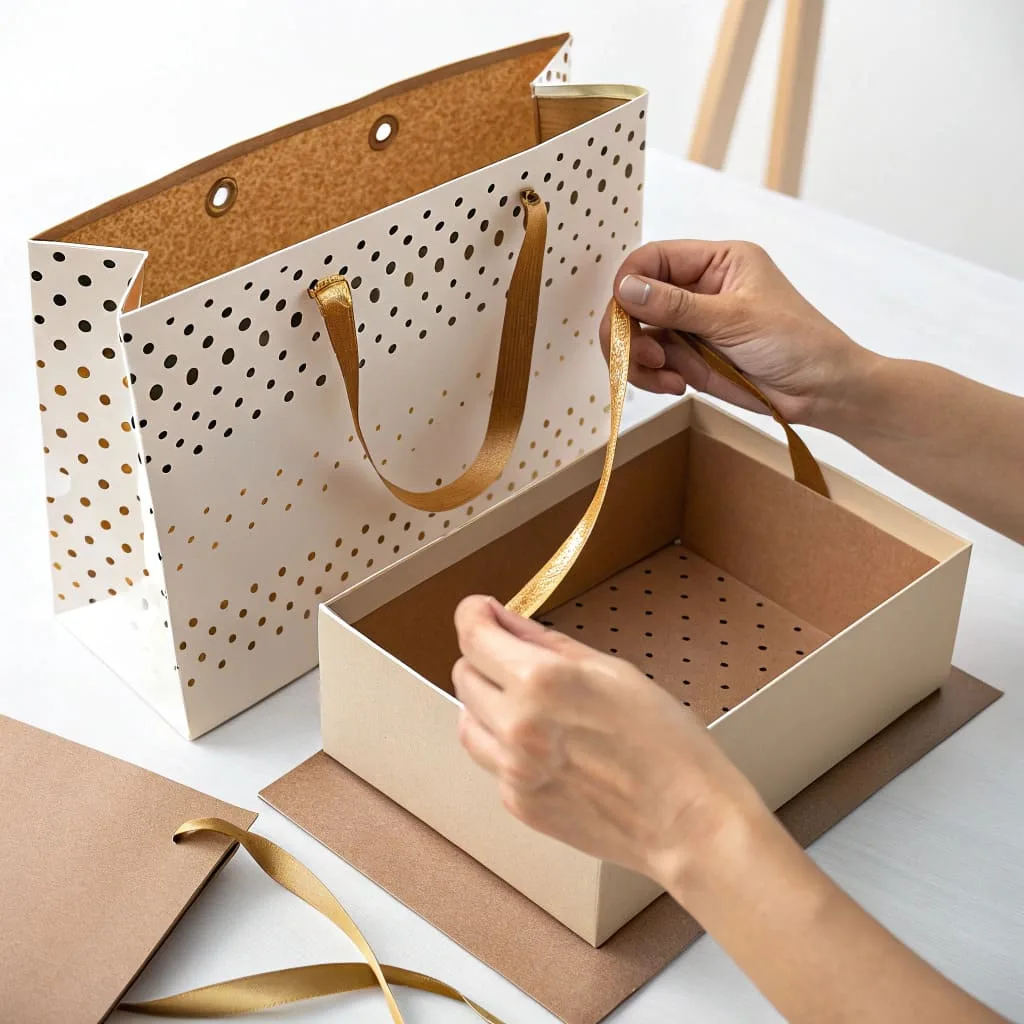
These finishing touches are what separate a simple craft from a high-quality product. At Omet Packaging, we know that details like reinforced tops and strong handles are non-negotiable for our clients in the apparel, cosmetic, and jewelry industries. They ensure the bag not only looks good but also performs perfectly. You can apply the same standards to your DIY project.
Reinforcing the Top
Before adding handles, cut a strip of thin cardboard that is slightly narrower than your bag’s width and about 2-3 inches tall. Fold it in half lengthwise. Open the top of your bag and glue this folded cardboard strip along the inside top edge. This is called a "turnover top" in the industry, and it prevents the handles from tearing the paper.
Adding the Handles
Once the reinforcement is in place, fold the top edge of the bag down about an inch to create a clean, finished rim. Now, use your hole punch to make two holes through the reinforced top on each side of the bag. Cut two equal lengths of ribbon or string. Thread one piece through the two holes on one side, from the outside in. Tie a knot at each end on the inside of the bag to secure the handle. Repeat on the other side.
Strengthening the Base (Optional but Recommended)
For heavier gifts, an extra step makes a huge difference. Cut a piece of cardboard to fit the exact dimensions of the bag’s interior base. Simply drop it into the bottom of the bag. This distributes the weight evenly and prevents the bottom from sagging. It’s a simple detail that we include in many of our custom bags for food or electronics brands.
How Can You Arrange Tissue Paper for a Professional Finish?
A well-made gift bag can still look unfinished if the tissue paper inside is crumpled or poorly arranged. Tissue paper is more than filler: it is one of the first parts of the packaging experience your recipient sees and touches.
The classic "puff" method creates a full, celebratory look. Lay 2-4 sheets of tissue paper flat, offset each sheet slightly, pinch them together at the center, and lift to form a cone or flower shape. Place the pointed end into the bag and gently fluff the top. Repeat with another puff if needed to fill the space and conceal the gift.
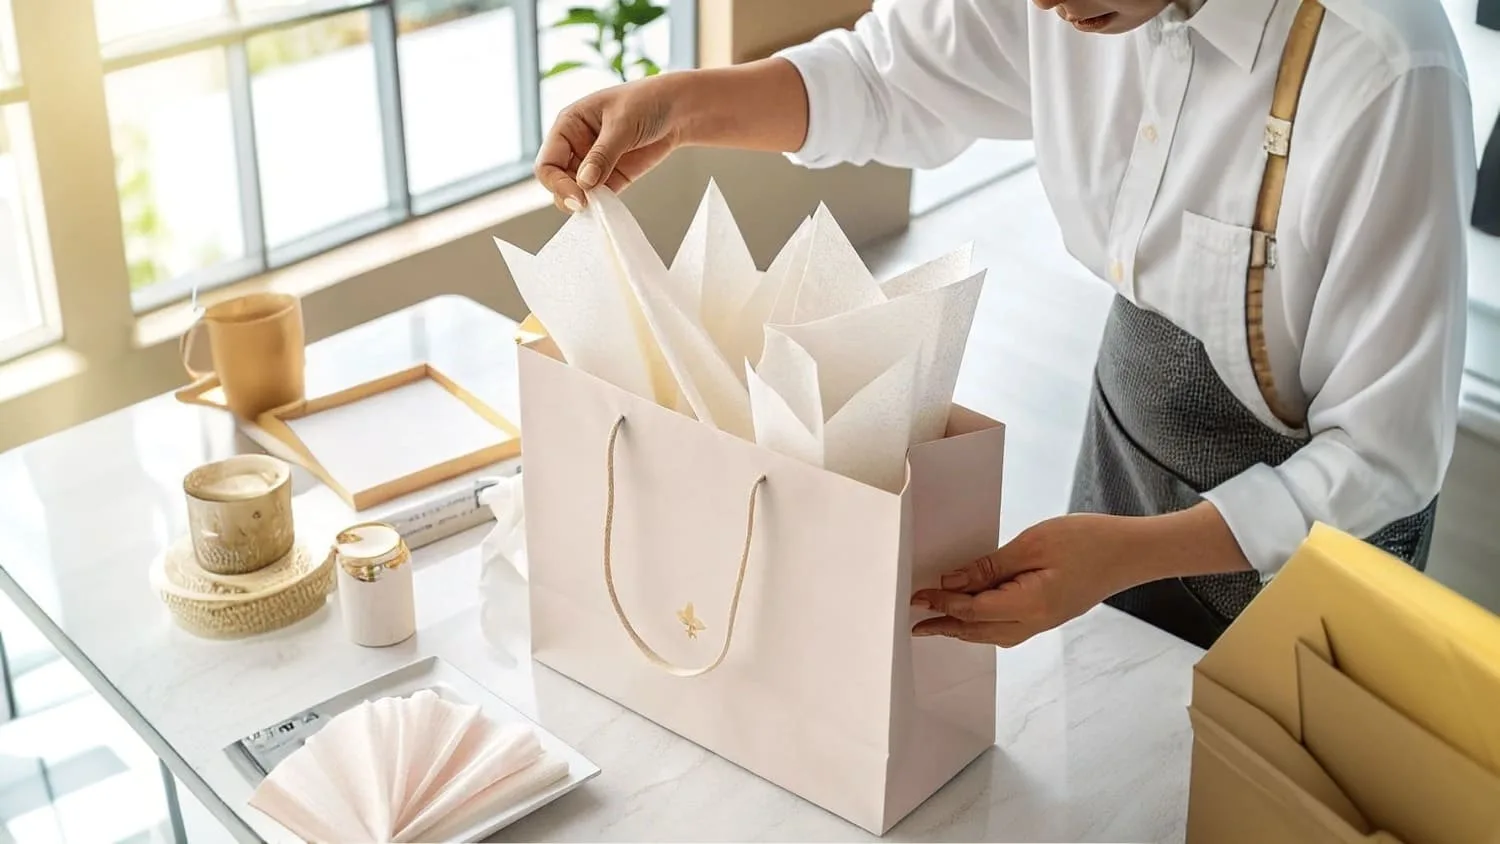
This small detail can transform the final presentation. Over my years leading Omet Packaging, I’ve seen how a beautifully crafted custom bag can be let down by messy tissue paper. When arranged carefully, however, it builds anticipation and makes the unboxing experience feel more premium.
The Classic Puff Method
- Prepare Your Sheets: Take 2-4 sheets of tissue paper and lay them flat.
- Offset the Stack: Shift each sheet slightly so the corners do not line up perfectly.
- Find the Center: Estimate the center of the stacked sheets.
- Pinch and Lift: Gently pinch the center point and lift the entire stack to create a cone or flower shape.
- Place in the Bag: Put the pointed end down into the gift bag and gently fluff the points at the top. Add another puff if necessary.
The offset sheets are important because they allow the corners to fan out at different angles, creating more volume and a dynamic appearance. Instead of simply stuffing the tissue into the bag, place it gently so the points remain upright.
Is There a More Organized Alternative to the Puff Method?
If the puff method feels too playful for your brand, a structured fold can create a cleaner and more minimalist presentation.
Fold a sheet of tissue so it is slightly wider than the bag. Drape it inside in a "U" shape, place the gift inside, and then fold the two ends over the gift.
This method works especially well for apparel, books, electronics, and corporate gifts where a sleek and organized presentation is important. The result is less festive than the puff method but more precise and sophisticated.
| Technique | Best For | Look & Feel |
|---|---|---|
| The Puff Method | Gifts, cosmetics, food items, festive occasions | Celebratory, abundant, exciting, soft |
| The Structured Fold | Apparel, books, electronics, corporate gifts | Sleek, minimalist, organized, modern |
The technique should match the character of your brand. A playful cosmetics or gift brand may benefit from the volume and excitement of the puff method, while a premium leather goods or electronics brand may look better with the clean lines of a structured fold.
How Can You Personalize the Tissue Paper to Strengthen Your Brand?
Once you have mastered the arrangement, the tissue paper itself becomes another opportunity to reinforce your brand identity.
Choose tissue paper in your brand’s primary or secondary colors. For an even more distinctive presentation, use custom-printed tissue paper featuring your logo or a subtle pattern. For a more sustainable option, consider FSC-certified or recycled paper.
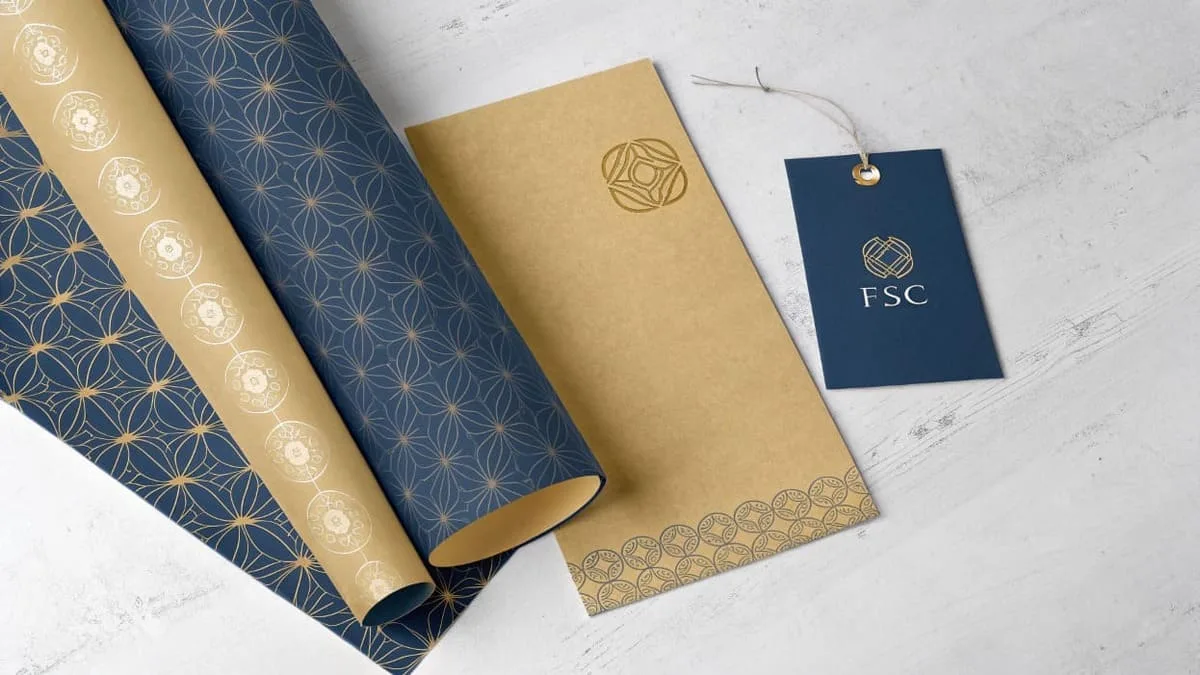
The color and printing of the tissue paper can work together with your custom gift bag to create a cohesive packaging experience. A luxury jewelry brand might choose black or navy tissue for a sophisticated look, while a children’s brand could use brighter, more playful colors.
Custom printing can make the unboxing experience feel more distinctive and memorable. A subtle logo or repeating pattern can turn ordinary tissue paper into an extension of the brand rather than simply protective filler.
Sustainability can also be part of this presentation. Choosing responsibly sourced or recycled tissue paper allows the packaging experience to communicate the same environmental values as the rest of your packaging.
Conclusion
Making your own gift bag is a simple way to add a creative, personal touch. With the right paper, clean folds, reinforced handles and base, and thoughtfully arranged tissue paper, your handmade bag can look polished and professional from the outside in.
The bag creates the first impression, while the tissue paper completes the experience. Together, these small details can transform a simple gift into a thoughtful, premium presentation.