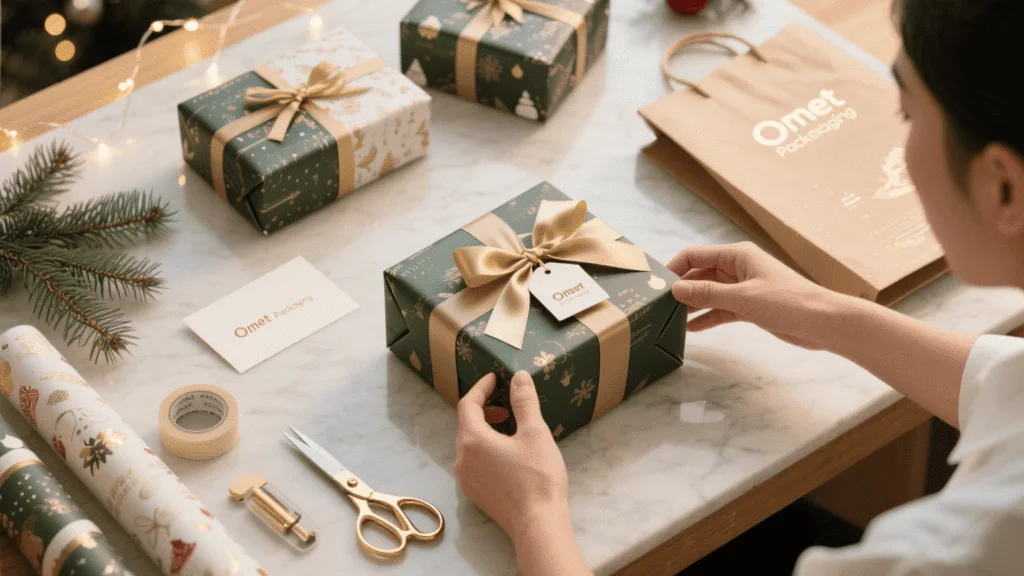
The tree is up and you have the perfect gifts, but are your wrapping skills letting you down? Torn corners and lumpy paper can make even the best present look rushed.
To wrap Christmas gifts beautifully, you must measure your paper precisely, create crisp, sharp folds, use double-sided tape for invisible seams, and learn a reliable technique for tying a classic bow. These four steps are the foundation of a professional-looking present.

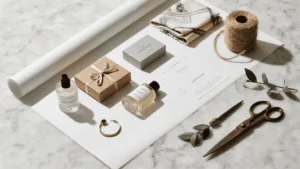
The joy of Christmas is in the giving, and a beautifully wrapped gift is the first part of that experience. It shows care and elevates the moment. In my ten years running Omet Packaging, I’ve seen how presentation transforms a product from simple to special. The same principles we use to create luxury, FSC-certified boxes for global brands can be applied right at your kitchen table. It’s not about being artistic; it’s about technique. Let’s make this the year your gifts look as good on the outside as they are on the inside.
How Do You Get Those Perfect, Crisp Corners on a Box?
Do your corners always rip or look bulky? You are tired of that messy, amateur look and want sharp, gift-store-quality corners. Here is how you can do it.
The secret to perfect corners is folding in a specific sequence. After folding the top long flap down, fold in the two side sections to create clean, 45-degree angle creases. Lastly, fold the final bottom flap up for a perfect, sharp finish.

This is where most people get frustrated, but it’s a simple, repeatable process. The problem isn’t the paper; it’s the lack of defined creases. Think of it like the die-lines we use to create our foldable boxes—every crease has a purpose. First, make sure you’ve measured the paper correctly. You only need about a one-inch overlap on the main seam. Too much paper is the main enemy of sharp corners. After wrapping the body of the box with an invisible seam using double-sided tape, stand the box on its end. Press the short sides of the paper inward. Now, focus on one open end.
The Professional Corner Folding Method1
| Step | Action | Tip for a Sharper Crease |
|---|---|---|
| 1 | Fold the top flap down firmly against the box. | Run your thumbnail along the edge to make the fold sharp. |
| 2 | Fold in the left and right sides. This creates two neat triangles. | Make sure the diagonal folds are at a crisp 45-degree angle. |
| 3 | Fold up the final bottom flap. | Before securing, fold the top edge of this flap under by half an inch. |
| 4 | Secure with double-sided tape2 for a completely clean look. | Place the tape just under the folded edge before pressing. |
What’s the Secret to Tying a Perfect, Classic Bow?
Are your bows always floppy, uneven, and sad? A bad bow can ruin a beautiful wrapping job. I will show you how to tie a full, perfect bow every time.
To tie a perfect bow, create two equal-sized loops (like bunny ears). Cross the right loop over the left one, tuck it around and through the center hole, and pull both loops tight. Adjust the loops and tails until they are full and even.

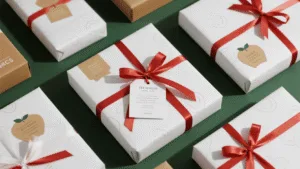
A beautiful bow is the finishing touch that says "special." It’s a small detail that makes a big impact. I’ve seen our clients in the cosmetics and gourmet food industries use custom-branded ribbons to seal their packages; that final bow is a stamp of quality. The trick is to stop thinking of it as a shoelace knot and treat it as a series of deliberate folds. Using the right material helps. Wired ribbon is a fantastic choice for beginners because it holds its shape beautifully. Satin is classic and elegant but can be slippery, so you need to hold it tightly. Once you have the ribbon around the box, don’t pull it too tight yet. Give yourself room to work. Make your two loops, perform the simple cross-and-tuck motion, and then carefully pull it snug. You can adjust the size of the loops by gently pulling on them before the final tightening.
How Do You Wrap Awkwardly Shaped Gifts?
Stuck with a teddy bear, a ball, or a bottle? You know the standard wrapping method won’t work. The gift will end up looking like a lumpy mess.
For soft items, use the candy wrap technique: roll the gift in paper and twist the ends, securing them with ribbons. For hard or multiple items, the best solution is to place them in a gift box or bag with tissue paper first.

Not every gift comes in a perfect square box. This is a challenge we solve daily at Omet Packaging, where we design custom, BSCI-compliant packaging for any product imaginable. The goal is always to create a great unboxing experience. For home wrapping, you have two great options. The candy wrap is perfect for things like clothing, stuffed toys, or blankets. Just lay the item on a generous sheet of paper, roll it up into a tube, and twist both ends like a giant candy wrapper. Tie ribbons around the twists, and you have a fun, festive-looking gift. For harder items like a mug or small toys, your best friend is a simple gift box or bag. Trying to wrap paper directly around a complex shape rarely works. Placing it in a box first provides a simple, clean canvas for you to wrap perfectly. It makes the gift feel more substantial and protects it. Don’t forget the tissue paper—it completes the look and makes the gift inside feel like a hidden treasure.
Conclusion
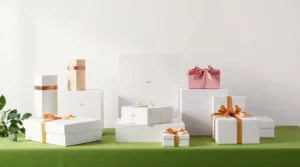
Beautiful Christmas packaging isn’t an art, but a skill. It relies on precise measurements, creating clean creases, concealing tape, and mastering the art of creating simple, elegant bows. Omet offers a wide range of Christmas packaging, including wrapping paper, gift bags, boxes, and cards. If you have unique and innovative designs and ideas, please discuss them with us. If you’re still struggling with the packaging method, we’ll offer various suggestions. We’re experts, and choosing us will delight you with unexpected surprises.