
Struggling with flimsy packaging? Worried that poor-quality boxes are hurting your brand’s image? Learn the essentials to create a professional paper box that truly represents your quality.
The core process includes choosing the right paper and structural material, creating an accurate design template (dieline), adding your own design, professional printing and finishing, precise cutting and creasing, and finally folding and gluing. The right combination of materials and manufacturing processes ensures that the box is strong, beautiful, and aligned with your brand, protecting your product while creating a memorable unboxing experience.
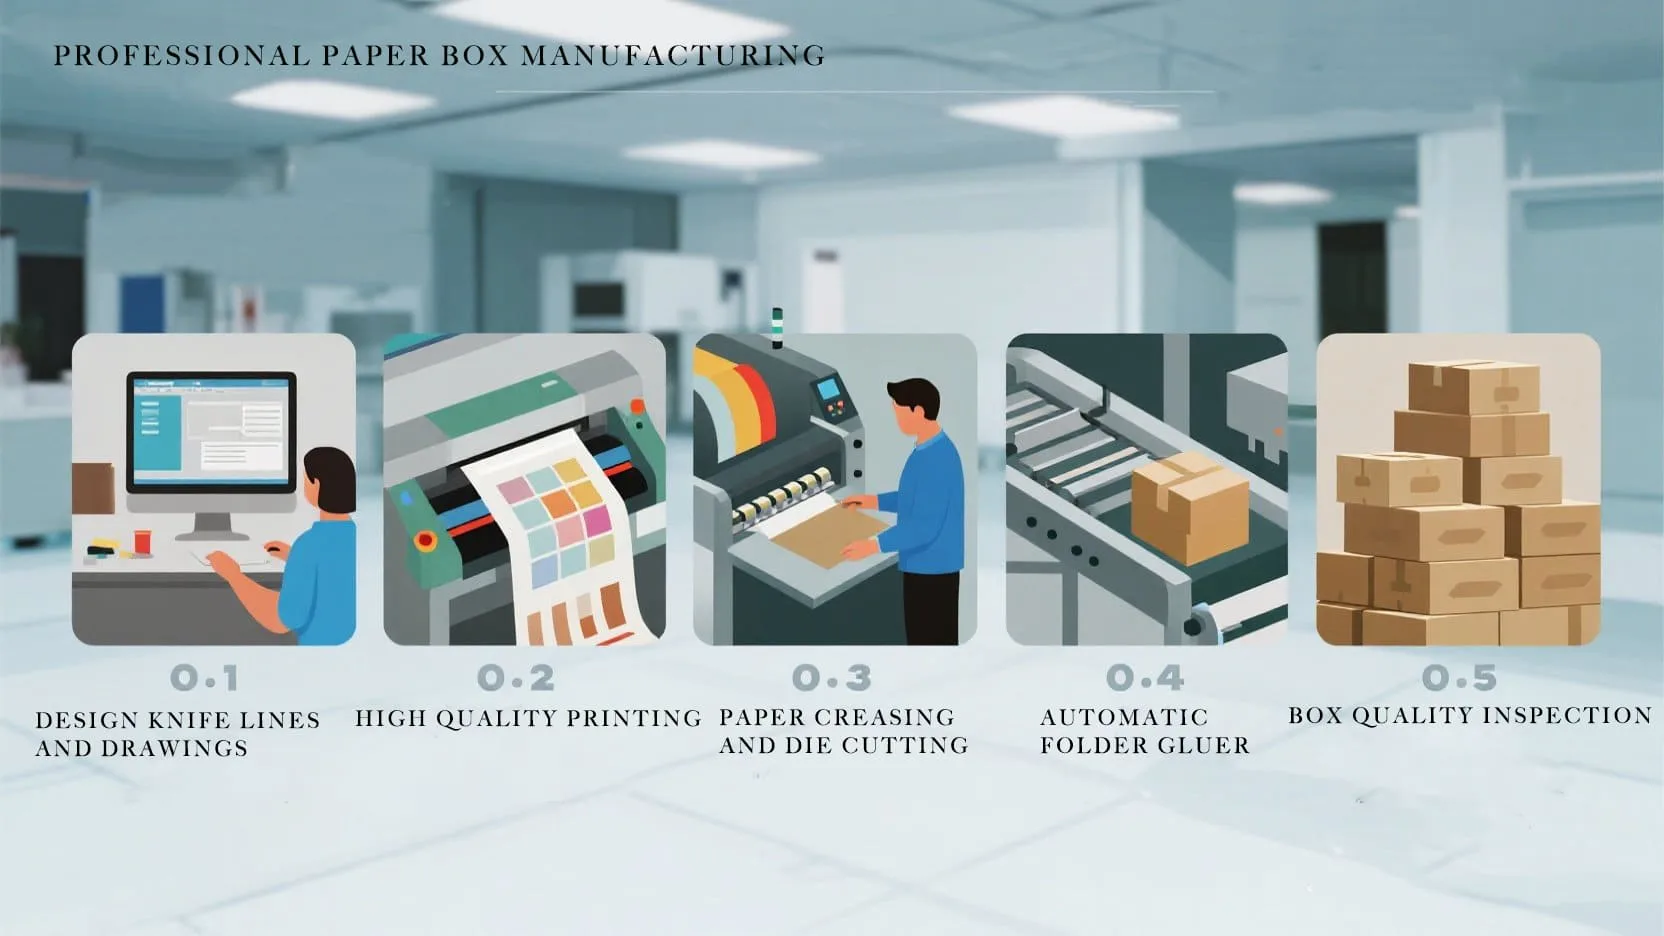
That might sound simple, but there’s a huge difference between a quick DIY project and a professionally manufactured box that can be scaled for a business. As someone who has spent over a decade in this industry, I’ve seen how getting the details right at each step can make or break a product’s presentation. Understanding this professional process is crucial for any brand owner, marketer, or procurement manager looking to create packaging that stands out. It’s not just about holding an item; it’s about creating an experience from the moment your customer receives their package. Let’s dive into the steps that we, as professionals, take to turn flat sheets of paper and board into a perfect box.
What’s the Best Paper Material for Your Box?
Are you overwhelmed by the variety of paper options? Worried that choosing the wrong paper packaging box will make it look cheap? Don’t worry, I will help you find the perfect material that is both durable and high-quality, so as to make a packaging box that is completely suitable for your product and brand.
The best material depends entirely on your product, box style, and brand goals. Art paper provides an excellent surface for high-quality printing, Kraft paper offers strength and an eco-conscious look, while specialty papers add unique textures and finishes. For rigid luxury boxes, Greyboard is typically used as the structural core and wrapped with a decorative paper. Select the right combination based on weight, protection needs, appearance, and desired unboxing experience.
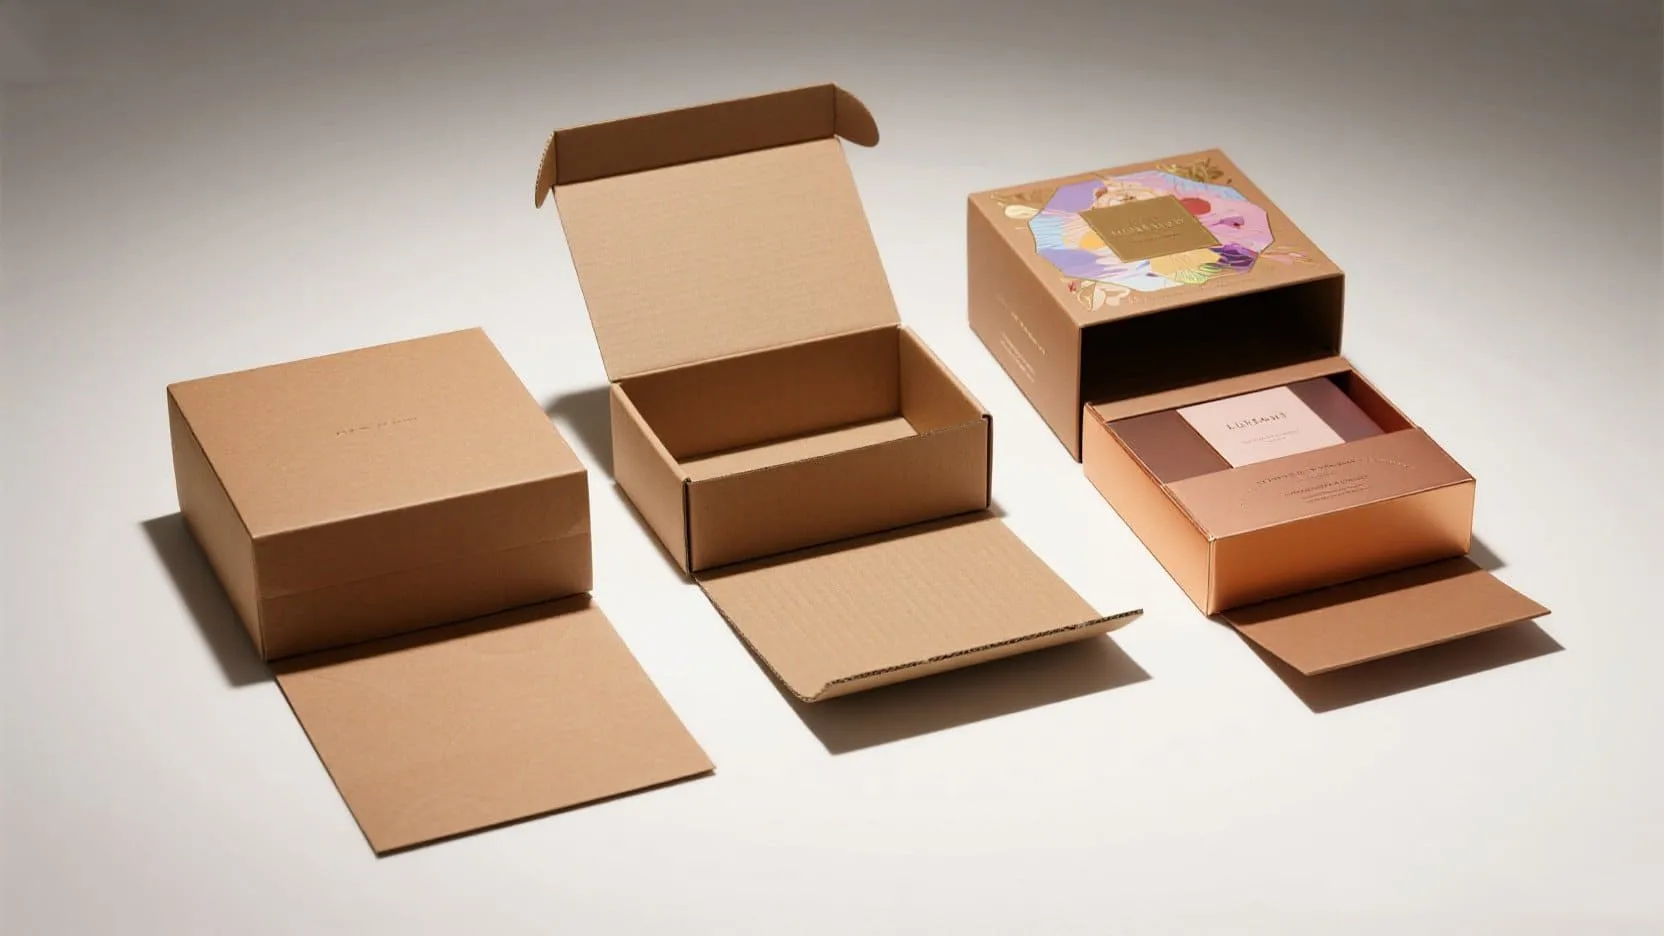
Choosing the right paper is the foundation of a great box. You’re balancing durability, aesthetics, and cost. The material is not simply something that holds the product; it is also one of the first physical touchpoints between your customer and your brand. A thick, smooth, or textured surface can immediately communicate quality and attention to detail.
At my company, Omet Packaging, this is the first conversation we have with a new client. For a heavy electronic gadget, we’d never recommend a thin art paper. For a delicate piece of jewelry, a thick, clunky corrugated mailer could ruin the luxury feel. It’s about matching the material to the mission.
For premium rigid boxes, the construction usually involves two key components: a Greyboard or chipboard core that provides strength and weight, and an outer wrapping paper that creates the visual and tactile finish. Greyboard is a dense, rigid paperboard commonly made from recycled paper pulp. It prevents the box from bending or crushing and gives it the substantial feel customers associate with luxury packaging. The thickness can be selected according to the product’s size, weight, and desired level of rigidity.
The wrapping paper then determines much of the box’s final appearance. Art paper is ideal when sharp printing and vibrant colors are important. Kraft paper is a strong choice for natural, minimalist, or sustainability-focused brands. Specialty papers, including textured, pearlescent, and soft-touch options, can create a distinctive tactile experience for premium products.
We are FSC-certified, which means our paper can come from responsibly managed forests. This is important not just for the planet, but for brands that want to communicate their commitment to sustainability. Choosing a thoughtful combination of structural and decorative materials allows brands to create packaging that feels premium while still protecting the product.
Here is a simple breakdown of common choices:
| Paper Type | Key Features | Best For |
|---|---|---|
| Kraft Paper | Strong, tear-resistant, natural and eco-friendly look. | E-commerce, food, sustainable and artisanal brands. |
| Corrugated Board | Multi-layered, sturdy, excellent protection. | Shipping boxes, electronics, fragile items. |
| Art Paper/Coated | Smooth surface, excellent for high-quality printing. | Cosmetics, luxury gifts, apparel, printed packaging. |
| Greyboard/Chipboard | Rigid, thick, strong, commonly made from recycled paper. | High-end gift boxes, jewelry boxes, rigid packaging. |
| Textured Paper | Linen, canvas, leatherette, and other tactile finishes. | Luxury gifts, jewelry, premium retail packaging. |
| Pearlescent Paper | Subtle reflective or iridescent appearance. | Cosmetics, jewelry, wedding and special occasion products. |
| Soft-Touch Paper | Velvety, smooth, suede-like tactile finish. | Luxury products, high-end electronics, premium gift boxes. |
The final choice should also consider how the paper will work with printing and finishing. A smooth coated paper is excellent for crisp graphics, lamination, and hot stamping, while textured papers can work particularly well with a simple embossed or foil-stamped logo.
How Do You Create the Perfect Box Design and Dieline?
Does your current box design look sloppy? Are the folds and tabs misaligned? Discover the secret to creating a professional dieline for a flawless final structure.
A perfect box starts with a perfect dieline. This is a 2D digital template created with software like Adobe Illustrator. It maps out all the cut lines, crease lines, folds, panels, and glue tabs with total precision. This blueprint ensures every single box folds together perfectly and that the finished structure fits the product correctly.
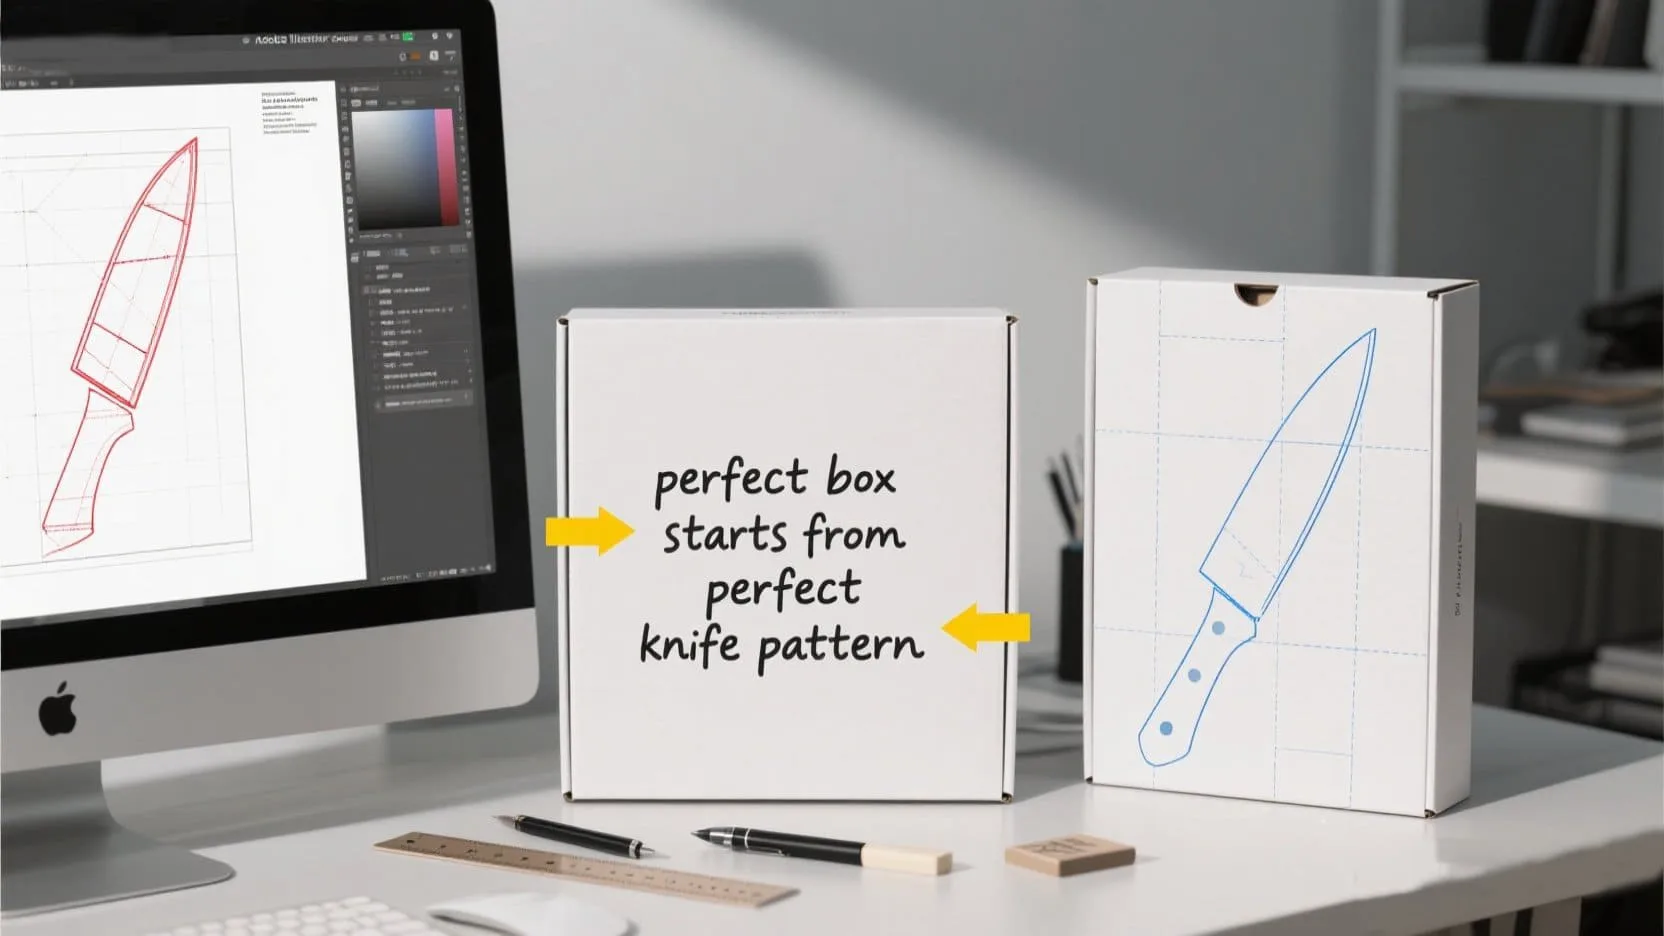
The dieline is the skeleton of your box. If it’s not right, nothing else will be. In my early days in sales, I saw firsthand how a poorly designed dieline led to boxes that wouldn’t close properly, causing delays and costing money. That’s why at Omet Packaging, our design team is meticulous. We use advanced software to create these templates.
We consider the thickness of the paper or Greyboard, the product’s exact dimensions, the required protection, and how the customer will open and close the box. This ensures a snug fit and a great user experience.
We recently worked with a cosmetics brand that had uniquely shaped bottles. Their old boxes allowed the products to rattle around. We developed a custom dieline with a built-in insert that held the bottle securely. The client was thrilled because it eliminated breakage and elevated the unboxing experience. It’s a small detail that makes a huge difference.
Common Box Styles Guided by Dielines
- Straight Tuck End (STE): A classic style with top and bottom flaps that tuck into the box. Great for lightweight products like cosmetics or software.
- Reverse Tuck End (RTE)1: Similar to STE, but the top and bottom flaps tuck in opposite directions, often providing more structural stability.
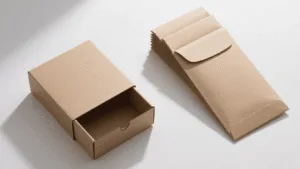
- Mailer Box (Roll End Tuck Front)2: A sturdy and self-locking design common for e-commerce subscription boxes. It provides excellent protection without needing tape.
- Lid and Base Box (Telescope Box): A two-piece rigid box, often used for luxury items like watches, jewelry, or high-end gifts. It provides a premium, weighty feel.
What Are the Key Steps in Professional Box Manufacturing?
Ever wonder how a flat sheet of paper magically becomes a finished box? Does the factory process feel like a black box? I’ll pull back the curtain on professional printing and finishing.
Professional manufacturing is a multi-stage process. First, we prepare the selected paper or board and print the design onto the flat sheets. Then, we apply surface finishes such as lamination, hot stamping, embossing, or other treatments. After that, machines die-cut and crease the sheets, and finally, they are folded, assembled, and glued into their finished 3D shape.
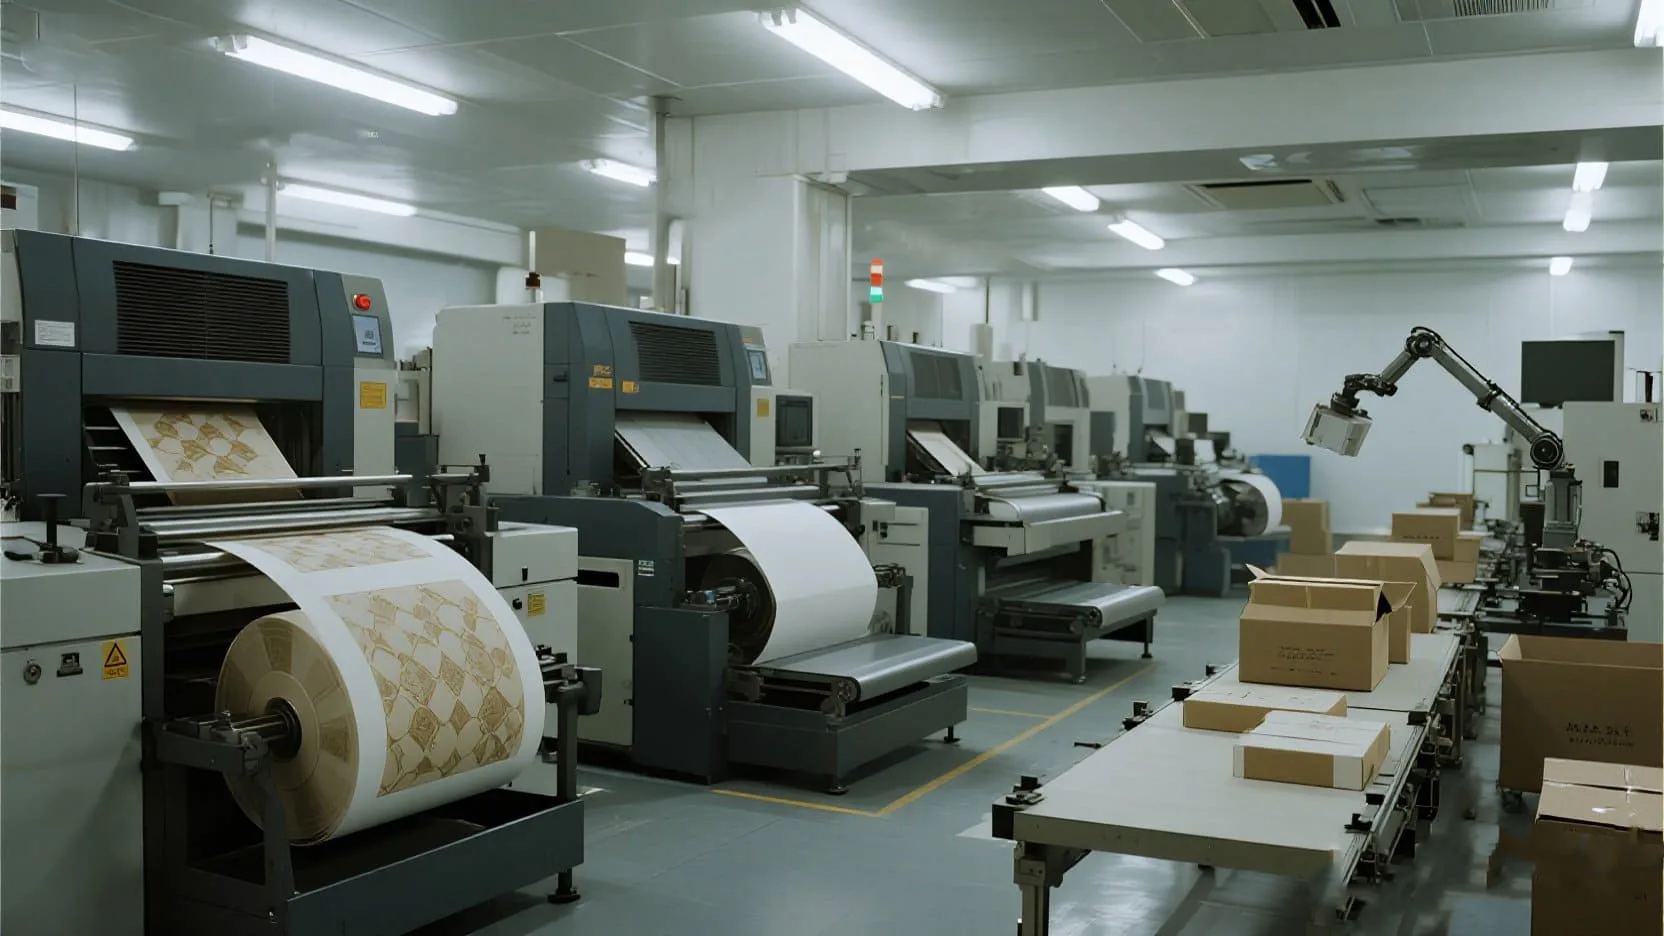
This is where the magic happens, but it’s all driven by technology and precision. Once the dieline is approved, the first step is printing. We use state-of-the-art offset printing presses to ensure brand colors are perfectly matched, whether it’s a specific Pantone shade or a complex CMYK image.
Next comes surface finishing. This is how you add that "wow" factor. A matte lamination can give a soft, luxurious feel, while a gloss finish makes colors pop. Hot stamping can add metallic details such as gold or silver logos, while embossing or debossing creates a raised or recessed tactile effect. The right finishing technique depends on both the paper surface and the desired brand aesthetic. For example, a smooth art paper provides an excellent base for crisp printing, lamination, and foil stamping, while a textured specialty paper can create a more understated luxury effect with a simple embossed logo.
After finishing, the sheets go to the die-cutting machine. This machine uses the dieline as a guide to cut out the box shape and press in the fold lines simultaneously. Accurate creasing is particularly important because it determines how cleanly the box will fold without cracking or damaging the printed surface.
Finally, automated machines fold and glue the boxes at incredible speed. For rigid boxes, the printed wrapping paper is carefully applied around the Greyboard structure, with precise attention to corners and edges. The result is a strong, stable box with a polished exterior.
This entire process requires careful quality control. At Omet Packaging, our production is supported by automated manufacturing equipment and carried out in a BSCI-certified facility, helping ensure consistent quality and responsible production. From material selection and structural design to printing, finishing, cutting, and assembly, every stage contributes to the final packaging experience.
Conclusion
Creating a great paper box combines material science, precise engineering, creative design, and professional finishing. By choosing the right structural material and outer paper, developing an accurate dieline, and controlling every stage of printing and manufacturing, you can create packaging that truly protects and elevates your brand.
For a simple printed box, materials such as Kraft paper, art paper, and corrugated board can provide the right balance of appearance and protection. For premium rigid packaging, a Greyboard core combined with art paper, Kraft paper, or specialty papers such as textured, pearlescent, or soft-touch paper can create a much more substantial and memorable unboxing experience.
The right paper does more than make a box look attractive. It influences how the packaging feels in the customer’s hands, how well it supports finishing techniques, how effectively it communicates your brand values, and how well it protects the product. When material selection, structural design, and manufacturing precision work together, the result is packaging that feels worthy of the product inside.