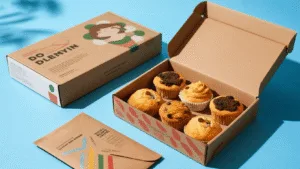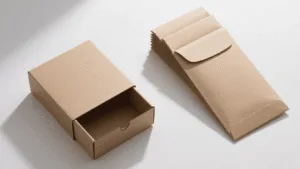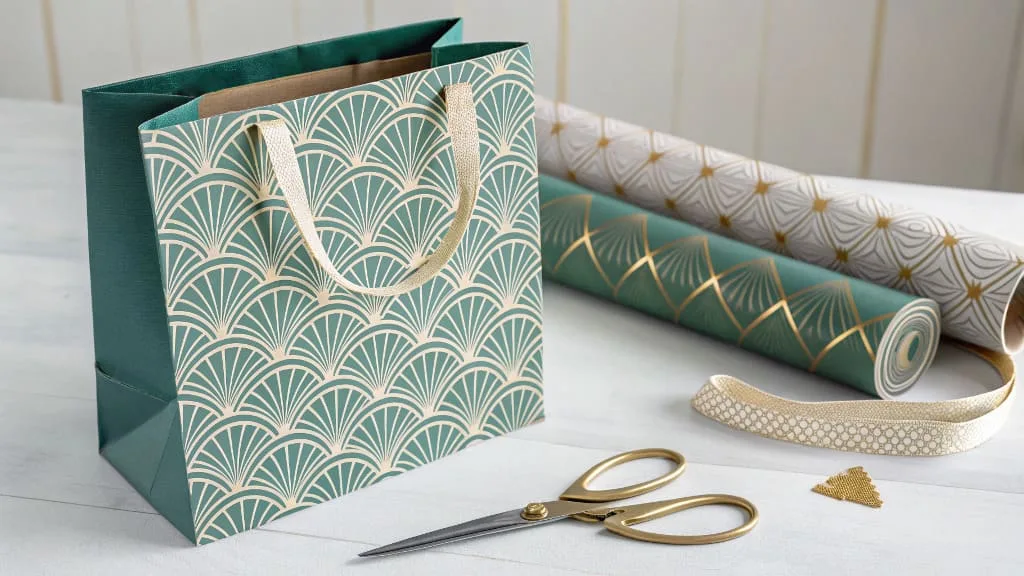
Stuck with a perfect gift but no bag? Don’t let a last-minute packaging panic ruin the moment. You can easily craft a beautiful, custom gift bag right at home.
To make a gift bag, you need to fold a piece of wrapping paper into a tube and glue the seams, being careful not to let the glue drip onto your hands, which can cause quite a bit of trouble. Next, fold and secure the bottom to create a flat bottom. Finally, punch holes in the top and tie with a ribbon or string for a sophisticated look, and when you’re done, set the bag aside to ensure the glue dries and the bag is secure.

In my ten years leading Omet Packaging, I’ve seen how much presentation matters. It’s the first impression your gift makes, and a custom touch shows you truly care. This simple DIY project is a great way to elevate your gift-giving, using skills similar to what we use in professional packaging design. It’s easier than you think. Let me guide you through the process, step-by-step, so you can create a bag that looks like it came from a high-end boutique.
What Materials and Tools Do You Need First?
Are you ready to start but missing a key item? That can stop a creative project in its tracks. Let’s gather everything you need now for a smooth and fun process.
You need to prepare wrapping paper, scissors, a ruler, super glue or double-sided tape, a hole punch, and ribbon or rope for making handles. If you lack a hole punch, you can use the corner of the scissors to make holes or use some sharp and pointed objects, such as compasses, blades, etc., of course you need to use them with caution. In addition, it is strongly recommended to use a piece of light cardboard for reinforcement, which can be used to reinforce the bottom and sides of the paper bag, so that the paper bag has more load-bearing capacity.

Choosing the right materials is the foundation for a great result, just like in professional manufacturing. It’s a principle we live by at my company, Omet Packaging, where we are BSCI and FSC certified. You don’t need industrial-grade equipment, but quality matters.
Your Essential Toolkit
| Item | My Recommendation | Why It’s Important |
|---|---|---|
| Wrapping Paper | Choose a thicker, high-quality paper1. Paper with a weight of at least 100 GSM (grams per square meter) works best. | Thinner paper tears easily. Heavier paper creates a sturdier bag that can hold more weight, just like the bags we produce for luxury brands. |
| Adhesive | Double-sided tape gives a cleaner finish. A strong glue stick or craft glue also works well. | You need a strong bond2 to ensure the bag doesn’t come apart. We use specialized adhesives for different materials to guarantee durability. |
| Scissors & Ruler | A sharp pair of scissors and a standard ruler or measuring tape. | Precision is key. Clean cuts and straight lines make all the difference between a homemade look and a professional one. |
| Hole Punch | A standard two-hole or single-hole punch. | This creates clean, uniform holes for the handles. |
| Handles | Ribbon, twine, or twisted paper cord. | This is where you can add personality. Match the handle material and color to your wrapping paper for a coordinated look. |
| Cardboard | A thin piece from a cereal box or old folder. | This is my professional tip. Used for reinforcing the top and bottom, it adds significant strength and structure. |
How Do You Fold the Wrapping Paper into the Main Bag Shape?
Worried you’ll make a wrong fold and ruin the paper? Following complex diagrams can be confusing. Don’t worry, I will break it down into three very simple steps.
First, measure and cut your paper to size. Then, fold the paper into a tube and glue the overlapping seam to create the bag’s body. Finally, you will form the bag’s sturdy base by folding and securing the bottom end.

The process of forming the bag is all about clean folds and strong seams. This is where craftsmanship comes in. In our factory, machines fold and glue thousands of bags an hour with incredible precision, but the core principle is exactly the same as what you are about to do by hand. Let’s get started.
Step 1: Measure and Cut Your Paper
First, place your gift on the wrapping paper1 to figure out the size you need. You’ll want enough paper to wrap around the item’s width completely, with about a 1-inch overlap for the seam. For the height, you need enough to cover the gift’s height2 plus about three-quarters of its depth for the base, and an extra couple of inches for the top fold. Cut your rectangle to this size.
Step 2: Form the Body of the Bag
Place your paper pattern-side down. Fold the left and right sides in so they meet in the middle. Overlap one edge over the other by about 1 inch. Apply your double-sided tape1 or glue along this edge and press it down firmly to create a seam. You now have a flat paper tube2.
Step 3: Create the Base
With the tube still flat, decide how wide you want the base of your bag to be. Let’s say 4 inches. Fold the bottom edge up by 4 inches. Now, open this folded section up, pushing the sides in, much like wrapping the end of a present. You should see two triangle-shaped flaps1 form at the corners. Press these triangles flat. Next, fold the top and bottom flaps down toward the center, overlapping them. Apply glue or tape to secure these flaps. This creates the flat, sturdy bottom of your bag.
How Can You Add Handles and Reinforcements for a Professional Finish?
Does your finished bag feel a little flimsy? A weak bag might not hold your gift securely, which defeats the purpose. A few simple tricks can add pro-level strength and style.
Reinforce the top edge with a folded strip of cardboard before you punch holes for the handles. Then, thread your ribbon through the holes, tying knots on the inside to secure them. Adding a cardboard insert strengthens the base.

These finishing touches are what separate a simple craft from a high-quality product. At Omet Packaging, we know that details like reinforced tops and strong handles are non-negotiable for our clients in the apparel, cosmetic, and jewelry industries. They ensure the bag not only looks good but also performs perfectly. You can apply the same standards to your DIY project.
Reinforcing the Top
Before adding handles, cut a strip of thin cardboard1 that is slightly narrower than your bag’s width and about 2-3 inches tall. Fold it in half lengthwise. Open the top of your bag and glue this folded cardboard strip along the inside top edge. This is called a “turnover top2” in the industry, and it prevents the handles from tearing the paper.
Adding the Handles
Once the reinforcement is in place, fold the top edge of the bag down about an inch to create a clean, finished rim. Now, use your hole punch1 to make two holes through the reinforced top2 on each side of the bag. Cut two equal lengths of ribbon or string. Thread one piece through the two holes on one side, from the outside in. Tie a knot at each end on the inside of the bag to secure the handle. Repeat on the other side.
Strengthening the Base (Optional but Recommended)
For heavier gifts, an extra step makes a huge difference. Cut a piece of cardboard to fit the exact dimensions of the bag’s interior base. Simply drop it into the bottom of the bag. This distributes the weight evenly1 and prevents the bottom from sagging. It’s a simple detail that we include in many of our custom bags2 for food or electronics brands.
Conclusion
Making your own gift bag is a simple way to add a creative, personal touch. With these techniques, your handmade bag will look thoughtful, polished, and truly professional.